• The process · Twin Falls, ID
HOW A GARAGE FLOOR
COATING IS INSTALLED,
STEP BY STEP.
A professional garage floor coating is installed in seven steps, in strict order: inspect and moisture-test the slab, diamond shot-blast the concrete, repair cracks and pits, roll a moisture-vapor-barrier epoxy base, broadcast decorative flake, lock it down with a UV-stable polyaspartic clear coat, then cure. Most garages are finished in one day, and the prep — not the paint — is what makes it last.
- Moisture test
- Shot-blast prep
- Epoxy base
- Flake broadcast
- Polyaspartic clear
- One-day install
• Start here
THE PROCESS IS 70% PREP.
Almost every failed garage floor failed for the same reason: someone rushed the part you cannot see. A coating is only as good as its bond to the slab, and the bond is built long before any color goes down.
That is why the honest answer to “how is it installed?” starts with concrete, not coating. We read the slab, open it up with steel shot, seal the moisture, and only then build the finish on top of a foundation that will actually hold it. The steps below are the real order we work in — and why each one earns its place.
• The install, in order
SEVEN STEPS, START TO FINISH.
This is the exact sequence we run on a garage floor — what happens, how long it takes, and why it matters.
- 01
Inspect and moisture-test the slab
30–60 minBefore anything touches the floor we read the concrete: its age, existing coatings, cracks, oil staining, and — critically — how much moisture is rising through it. Every Idaho slab breathes water vapor from the ground below, and a coating laid over an untreated wet slab is a coating that will blister off later. This is where we decide the exact system your floor needs.
Why it matters: A floor is only as good as the slab under it. Skipping the moisture read is how "one-day" crews end up with peeling callbacks.
- 02
Diamond shot-blast the concrete
6 hrs – 1.5 daysA shot-blaster fires thousands of tiny steel BBs at the slab and vacuums them back up, stripping old paint, sealer and surface laitance while opening the concrete’s pores to a uniform, sandpaper-like profile. This mechanical profile is what the coating grips into. It is dust-controlled and it is the single longest part of the job — because it is the single most important.
Why it matters: Prep is roughly 70% of whether a coating lasts. Shot-blasting gives the epoxy a mechanical key to lock into the concrete instead of sitting on top of it — acid-etching or a scrub-brush never gets there.
- 03
Repair cracks, pits and spalls
1–3 hrsWith the slab profiled, every crack, divot, pit and spalled edge gets ground out and filled with a rigid polymer patch, then re-profiled flush. Control joints are addressed so they do not telegraph or re-crack through the finish. The floor has to be sound and flat before a single drop of coating goes down.
Why it matters: Coatings do not hide damage — they magnify it. Fixing the substrate now is what makes the finished floor read as one continuous, seamless surface.
- 04
Roll the moisture-vapor-barrier epoxy base
1–2 hrsWe apply a 100%-solids, moisture-vapor-barrier epoxy directly into the freshly blasted profile. It penetrates and bonds into the concrete and seals the vapor drive coming up through the slab. This is the foundation layer — the one you never see and the one that decides everything.
Why it matters: This is the layer that stops a coating from bubbling and lifting from underneath. Polyaspartic-only systems skip it, which is exactly why they fail on damp slabs.
- 05
Broadcast the decorative flake
1 hrWhile the epoxy base is still wet we broadcast vinyl flake by hand to full refusal — until the floor can hold no more — then, once it kicks, we scrape it back flat and vacuum the loose. You choose the color blend during your estimate, from subtle grays and tans to bolder mixes.
Why it matters: Flake is strength, looks and grip at once: it builds real mil thickness and body, hides everyday wear and slab imperfection, and gives the floor genuine traction so it is not slick when wet.
- 06
Lock it down with the polyaspartic clear coat
1–2 hrsA UV-stable polyaspartic clear goes over the flake as the wear layer. It is the coat that takes all the abuse — hot tires, road salt, dropped tools, high-desert sun — and it cures fast enough to keep the entire job to a single day. This is polyaspartic used where it is strongest: on top, as armor.
Why it matters: Polyaspartic is a phenomenal clear top coat and a compromised base coat. Putting it on top and epoxy underneath is what gives you the best of both — a sealed slab and an unstoppable surface.
- 07
Cure, then park
Same dayBecause polyaspartic cures fast, most garages are walk-on ready the same evening. Furniture and light foot traffic return within about 24 hours; full vehicle traffic — hot tires and all — is typically fine within 24 to 72 hours depending on temperature. We leave you a simple care sheet, and the finished floor is backed by a lifetime wear warranty.
Why it matters: A one-day install only works when every earlier step was done right. The fast return-to-service is the payoff of correct prep and the right layer order — not a shortcut around them.
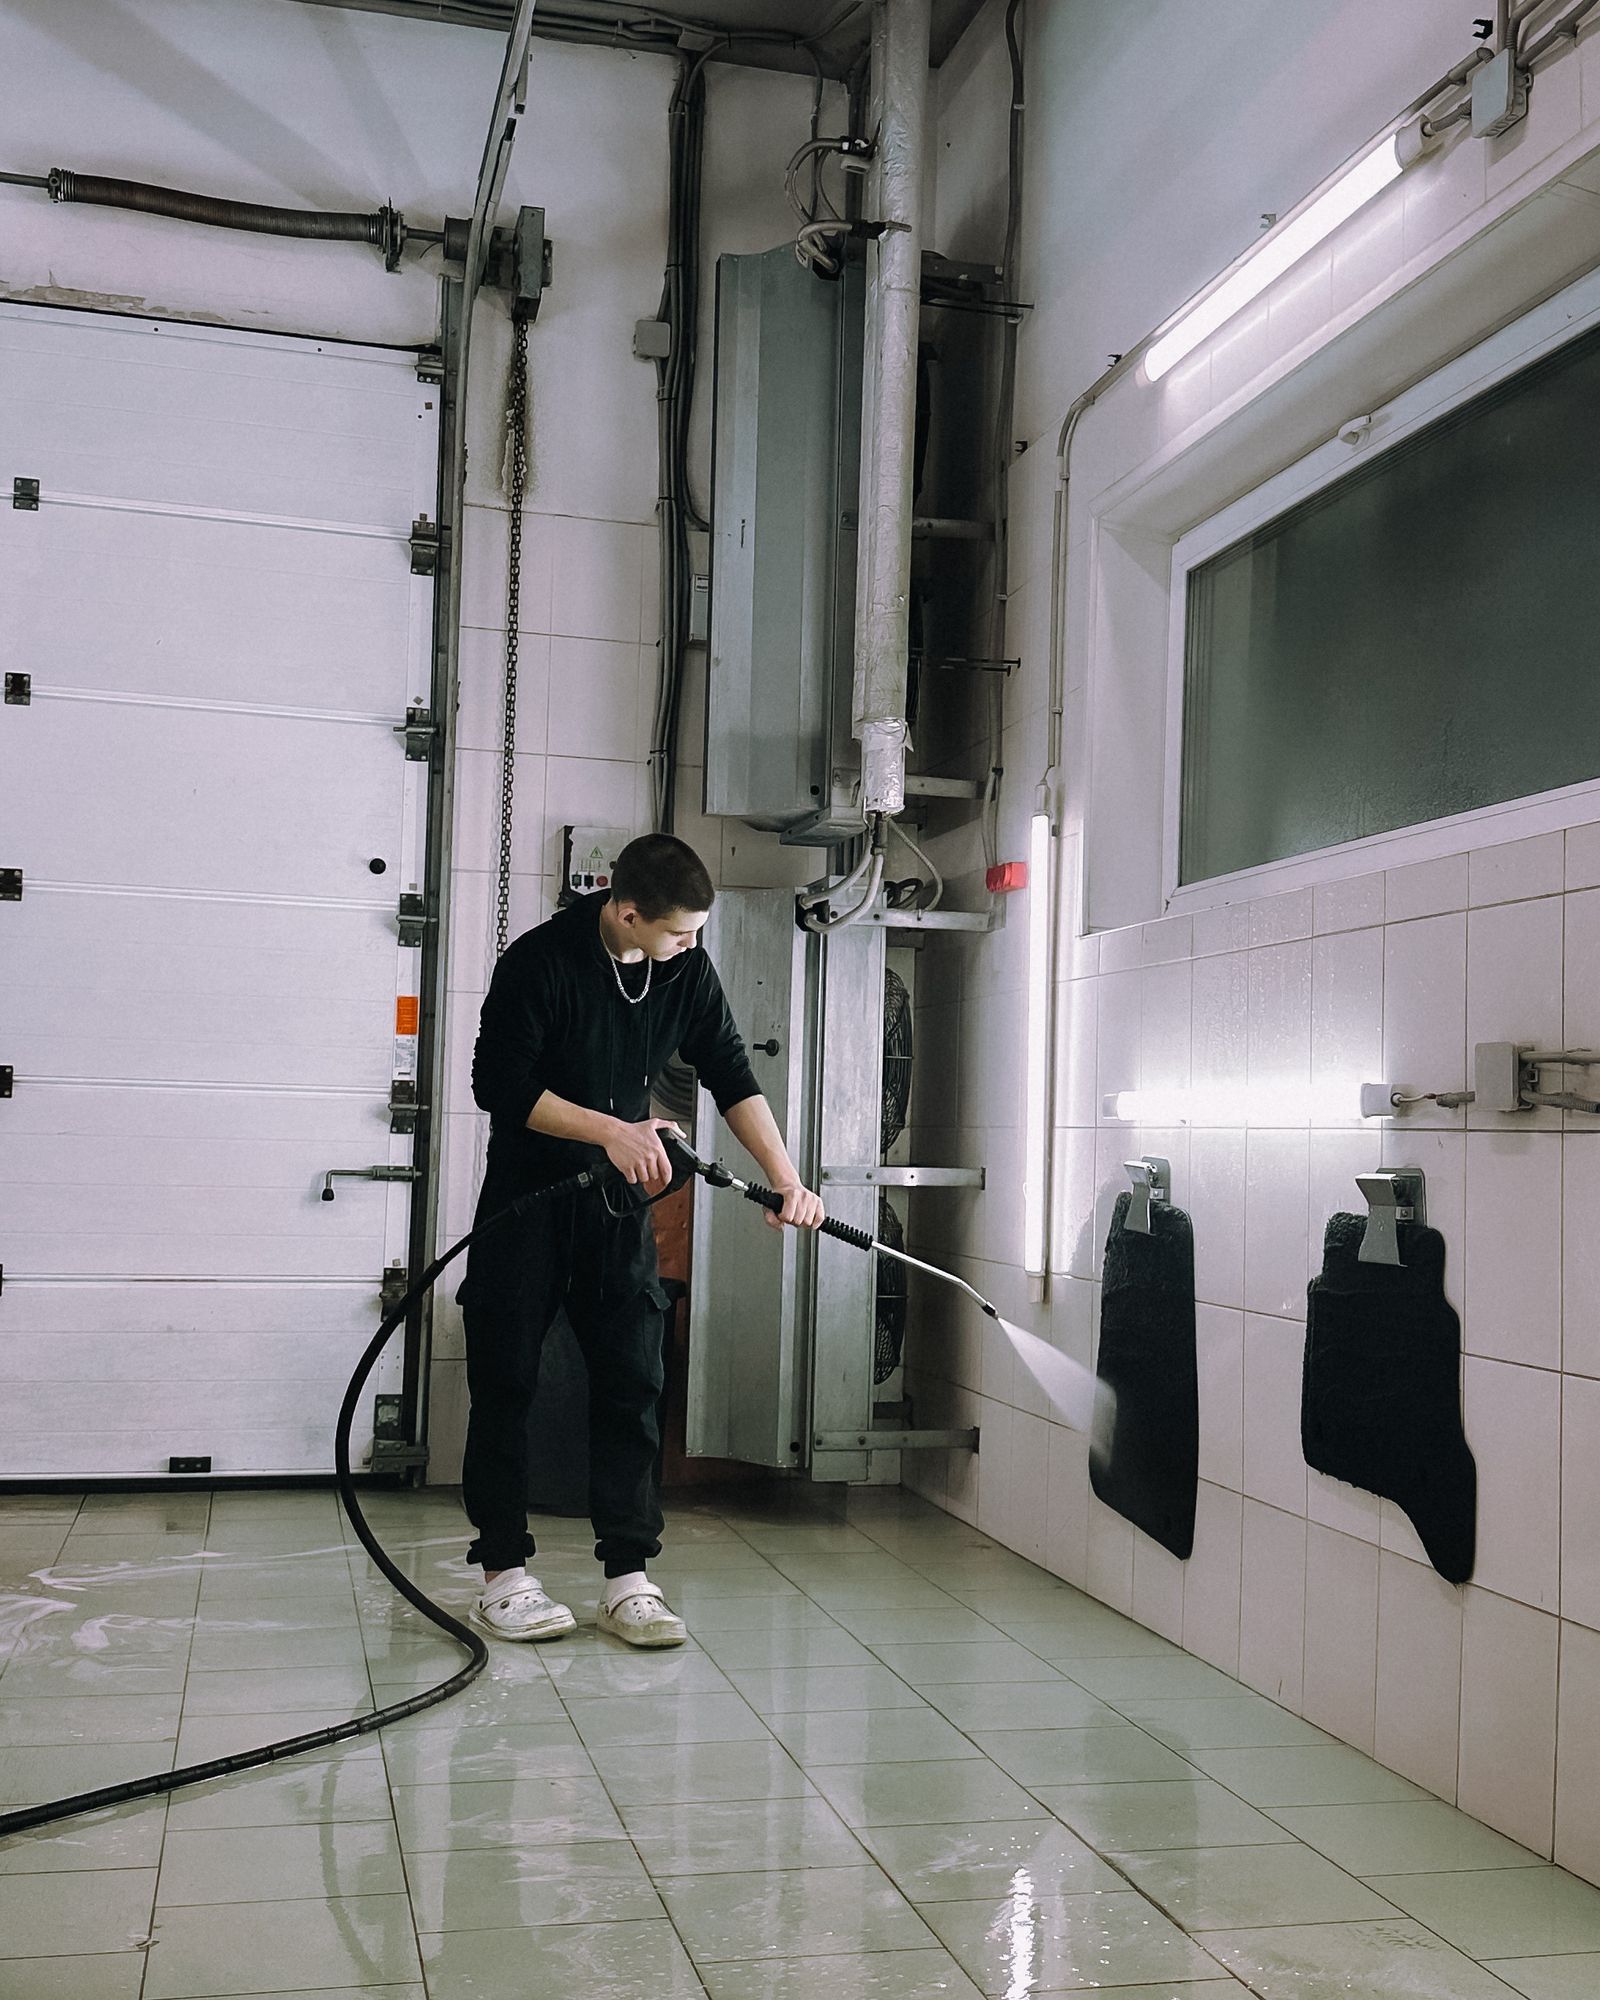
• Step 02, up close
WHAT SHOT-BLASTING ACTUALLY DOES.
The machine fires thousands of steel BBs at the slab and vacuums them straight back up, in one dust-controlled pass.
Each impact chips off surface laitance, old paint and sealer and leaves behind an open, uniform profile — think of turning a polished floor into fine sandpaper. That profile is what the epoxy keys into, bonding into the concrete rather than resting on a slick surface. Acid-etching cannot match it and a scrub-brush is not even close. It is the longest step for a reason: get this right and the floor cannot peel; get it wrong and nothing on top can save it.
• Steps 05–06, up close
FLAKE, THEN CLEAR.
Broadcast into the wet epoxy, the flake builds body, traction and looks all at once — then the polyaspartic clear locks every chip down as the wear layer.
This is the layer order that makes the whole system work: a sealed epoxy base underneath, flake for strength and grip in the middle, and polyaspartic on top as armor against hot tires, salt and sun. Each material is used where it is strongest — which is exactly why a Garage Pro floor outlasts a polyaspartic-only one-day job.
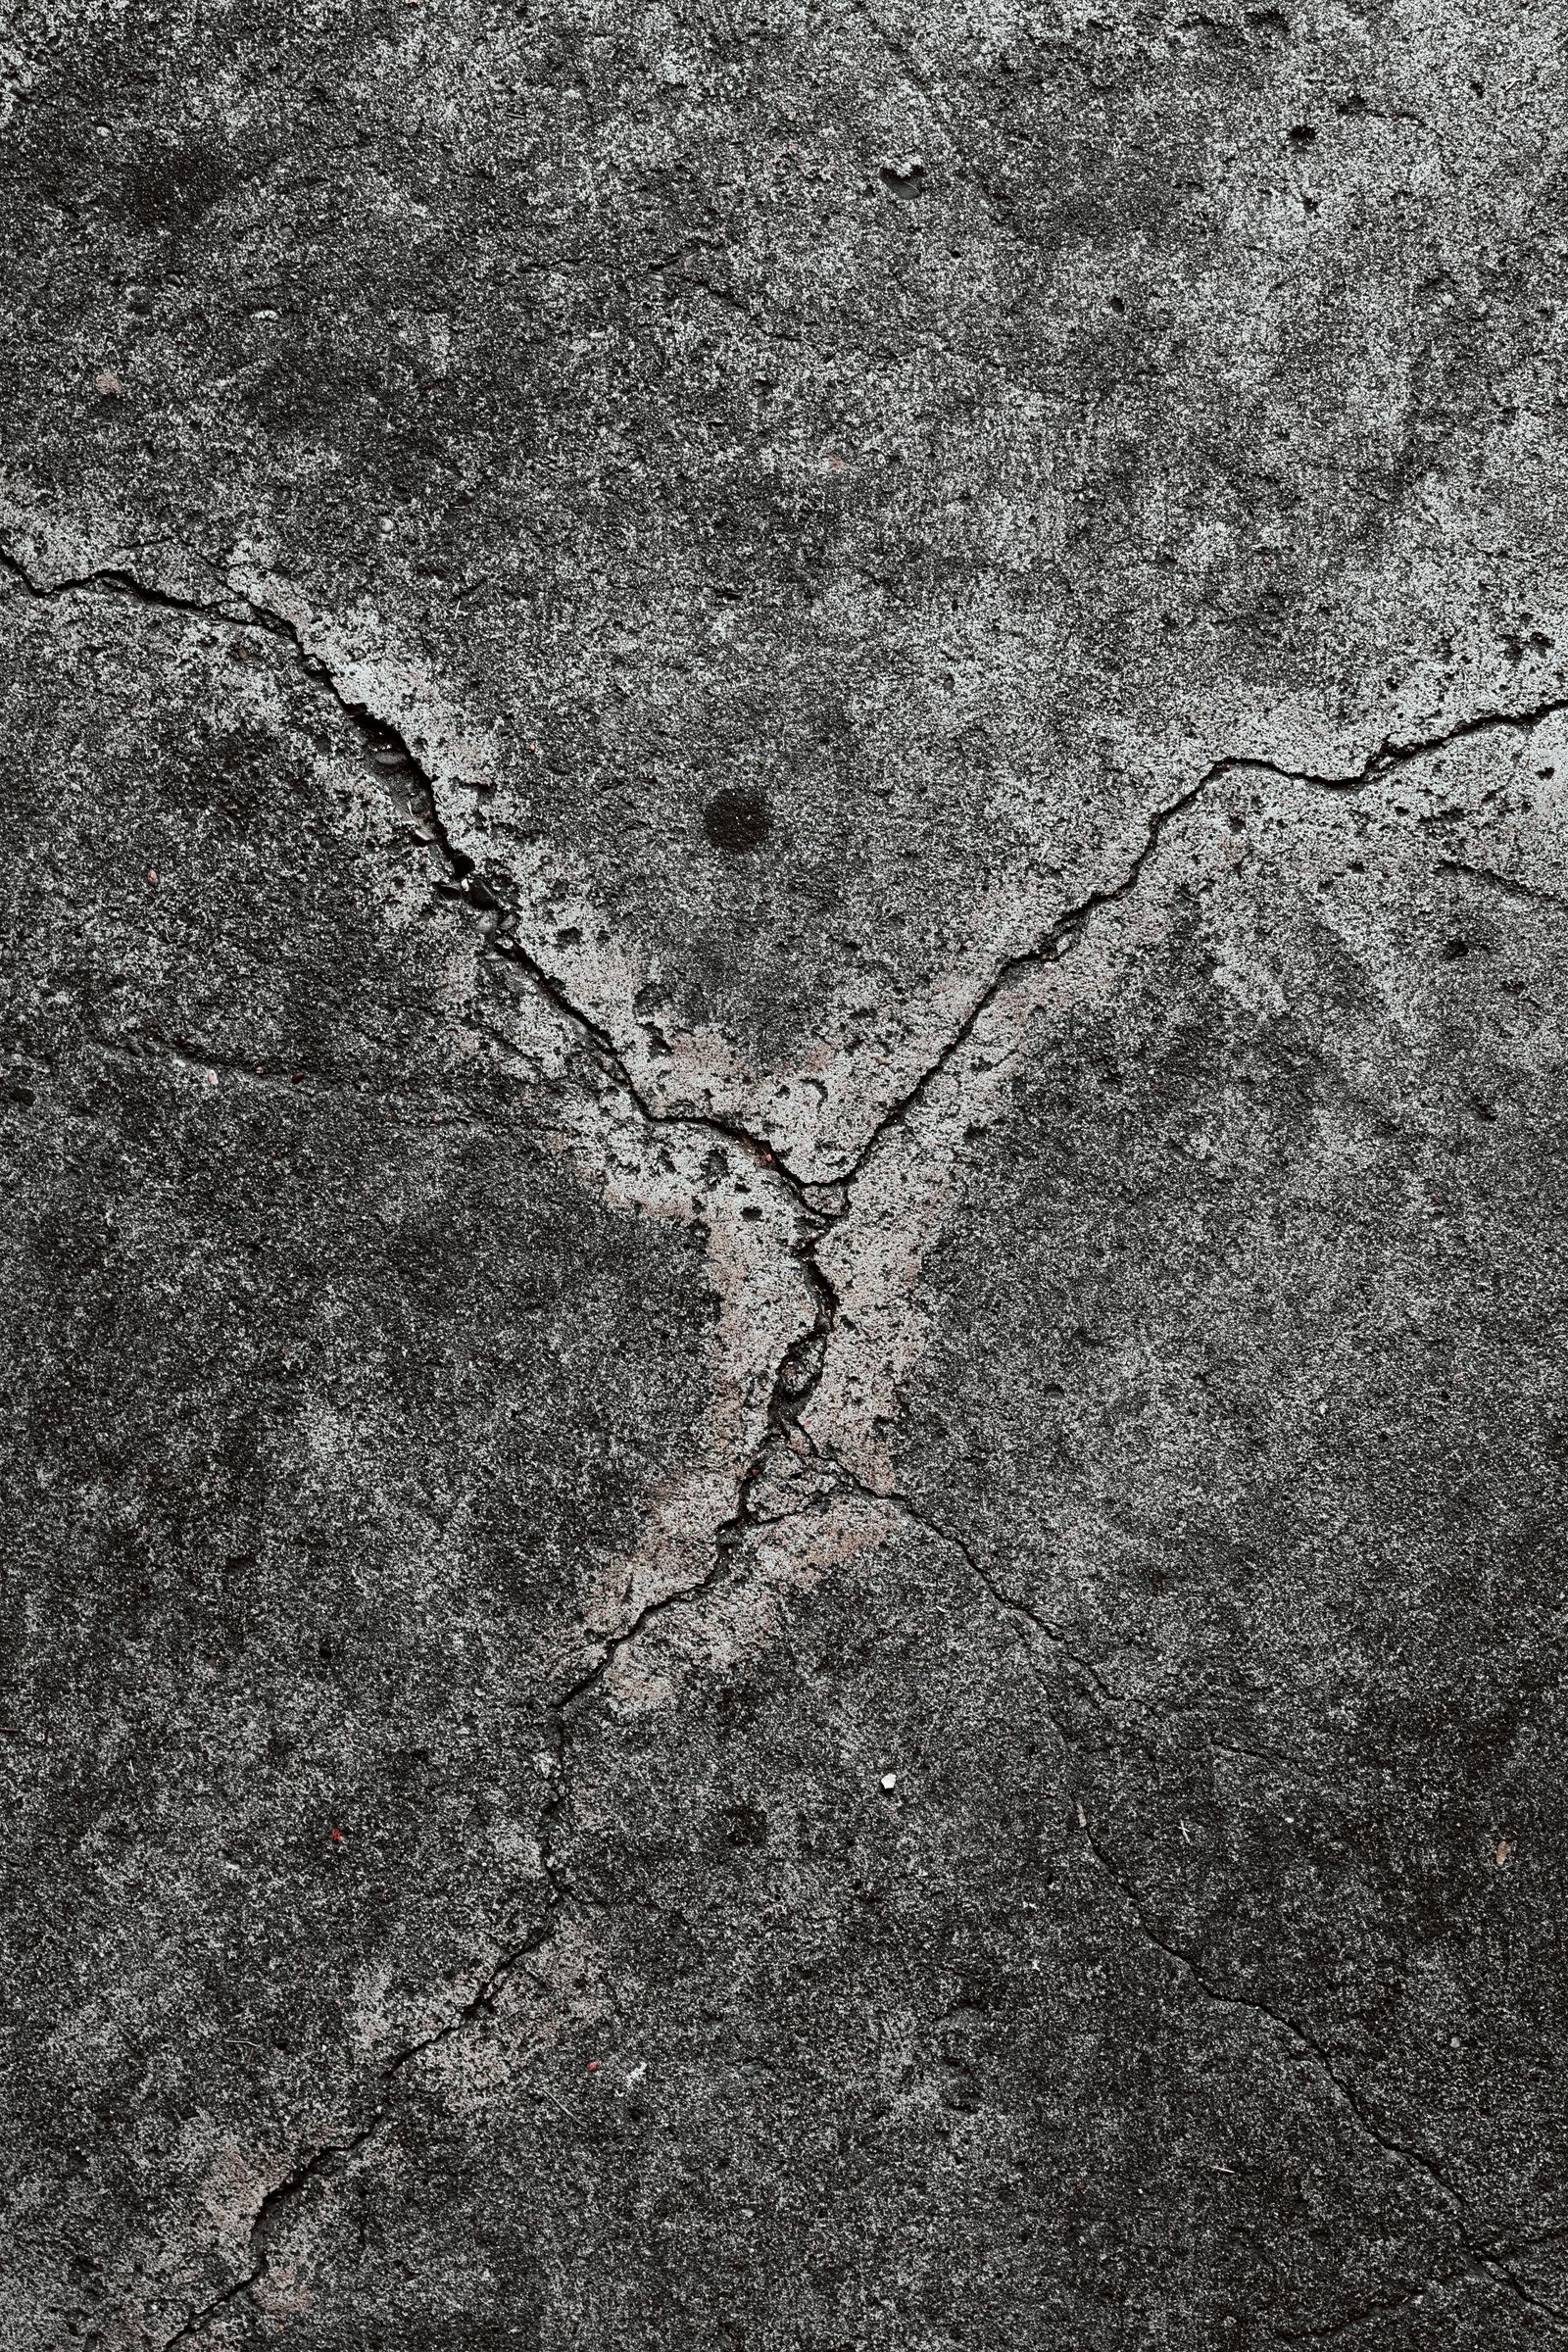
Start to finish
Inspect, blast, repair, base, flake and clear coat in a single day for most residential garages.
Walk on it
Because polyaspartic cures fast, most floors are walk-on ready the night of the install.
Park on it
Full vehicle traffic — hot tires included — is typically fine within one to three days.
• Keep reading
NOW THAT YOU KNOW HOW.
The rest of the honest answers — the full system, how long it lasts, and what stands behind it.
Installing across Twin Falls and the wider Magic Valley — Jerome, Kimberly, Burley & Mini-Cassia, Buhl, Filer, Wendell, Gooding and the Wood River Valley. See all service areas →
• Answer-first FAQ
THE PROCESS, ANSWERED.
How is a garage floor coating actually installed?
In seven steps, in order: (1) inspect and moisture-test the slab, (2) diamond shot-blast the concrete to open its pores, (3) repair cracks and pits, (4) roll a moisture-vapor-barrier epoxy base coat, (5) broadcast decorative flake into the wet base, (6) lock it down with a UV-stable polyaspartic clear coat, and (7) let it cure — most garages are walk-on ready the same day and park-ready within 24–72 hours.
How long does the whole process take?
For most residential garages the entire install is a single day. The longest single step is the shot-blast prep, which runs anywhere from about six hours to a day and a half depending on the slab’s size and condition. Because the polyaspartic clear coat cures so quickly, the coating steps that follow move fast and the floor is usually walk-on ready that same evening.
Why can’t you just hose out the garage and coat over it?
Because water is the enemy of the bond. Hosing the slab drives moisture down into the concrete, and any coating laid over a wet or improperly prepped slab traps that moisture underneath — it then pushes the coating off from below as vapor rises, causing the bubbling and peeling you see on failed floors. We shot-blast dry, moisture-test, and start with a moisture-vapor-barrier epoxy specifically to avoid trapping water.
Why is shot-blasting better than acid-etching or grinding?
Shot-blasting fires steel shot at the concrete to strip contaminants and open a deep, uniform surface profile that a coating mechanically keys into. Acid-etching leaves the slab too smooth and can leave residue behind, and a quick scrub does almost nothing. Prep is roughly 70% of whether a coating lasts, and a shot-blast profile is the gold standard for that bond.
What does the moisture-barrier epoxy base coat do?
It is a 100%-solids epoxy that bonds down into the blasted concrete and seals the water vapor rising through the slab. That seal is what stops a coating from blistering and lifting off from underneath — the most common failure on cheap or polyaspartic-only jobs. It is the foundation the flake and clear coat are built on.
When can I park on the floor after it’s installed?
Most floors are walk-on ready the same evening. Light foot traffic and furniture can return in about 24 hours, and full vehicle traffic — including hot tires — is typically fine within 24 to 72 hours, depending on temperature and the specific system. We give you a care sheet so you know the exact windows for your job.
• Get started
READY TO SEE THE PROCESS ON YOUR SLAB?
A free in-person estimate, an honest read on your concrete, and a straight walkthrough of exactly how we’d build your floor — no pressure, from the Magic Valley’s garage authority.
Twin Falls, ID · Serving the Magic Valley